Guides
Creating Marble Effect with Epoxy DIY
Mar
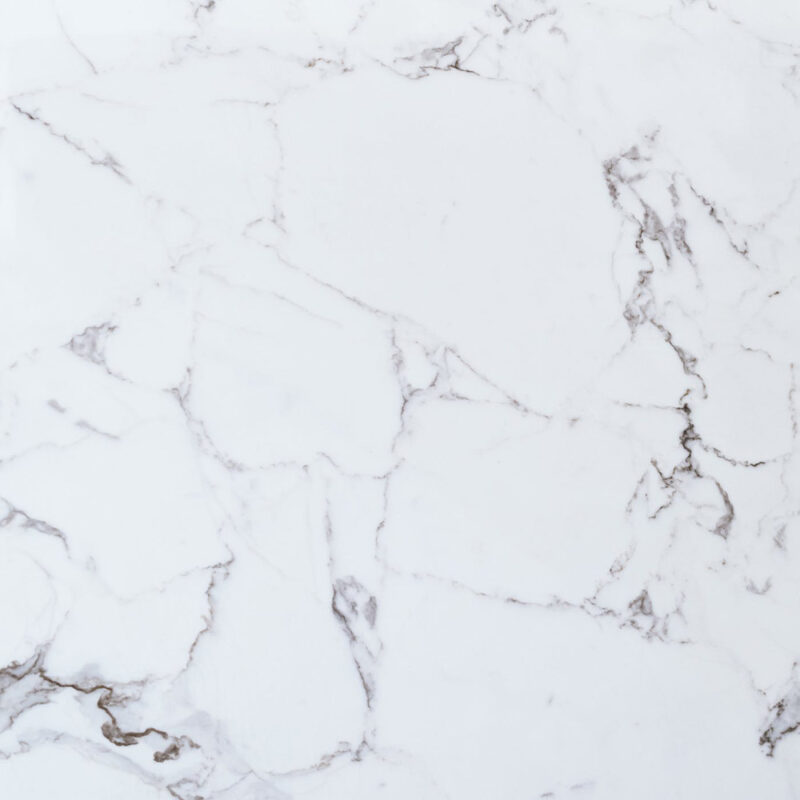
In this guide, I will explain how you can create a marble look in combination with our Resin Art epoxy resin. These effects are created with Montana Marble effect spray. These spray cans make it super easy to create marble effects.
Always use personal protection when working with Epoxy resin.
Step 1 Choose an object on which you want to create a marble effect.
It is important here that the object is flat enough to pour epoxy resin over. Choose, for example, a side table, tray, coasters, table, kitchen countertop, or perhaps a painting.
Make sure the object is sanded and grease-free. You can achieve this by using our bubble pop spray to clean the surface of your object.
Make sure the environment in which you use the spray and the epoxy resin is well protected. The spray goes in all directions and quickly ends up in places where you don’t want it. Use, for example, a tarp.
Step 2 Pour the base layer of Resin Art epoxy resin.
Choose which color you want as a base layer. On Giet Epoxy you can choose between pure white or pure black Color paste. This can serve as a beautiful base layer for your marble artwork.
Mix the right amount of Resin Art epoxy resin and add a maximum of 10% color paste to the whole. Mix it all and pour it onto your chosen object.
Step 3 Spread the epoxy resin over your object.
Spread the epoxy resin with a spatula or with your hands if you are wearing gloves. Let the epoxy resin rest so that it has flowed out over the object. Use the bubble pop spray or a gas burner to let the air bubbles escape from the base layer.
Step 4 Marble effect spray from Montana
It’s time to apply the marble effect. The marble effect is created by going over the object with the spray can.
To start, the cap of the spray can must be removed. Here you will find a filler ring that blocks the use of the spray can, remove this ring by holding the can upside down. Place the spray nozzle back on the spray can and shake the can well before use.
Take a piece of old paper or cardboard to test if the spray can works. Also use this to get a feel for how the spray can works. Are you familiar enough with its use? Then it’s time to use the spray to spray over your poured object.
Combine all different colors of marble spray to create depth effects. You are free to combine colors as you like.
By moving over your object and activating the spray can at short intervals, you will see the marble effect emerging more and more. Take the time to look at how it’s developing and add where you think necessary.
Step 5 Finishing the marble layer
Let the resin art epoxy resin cure, which takes an average of 20-24 hours. After this, you can apply a new transparent protective layer to your object for a beautiful high-gloss result.
Remember that if you apply the second layer later than 48 hours, you need to sand the layer again.